Water Cycle Project
Here are three hands on water cycle experiments. These are inspirations and fun experiments for teachers, homeschool parents, and science fair projects.
What Is Water Cycle?
Water cycle is also known as hydrologic cycle or hydrological cycle. It describes how water moves continuously on Earth.
Water loops through different stages – evaporation, condensation, precipitation and flow. It then goes back to the evaporation stage.
The whole cycle starts all over again and hence the name “water cycle”.
Stages Of The Water Cycle
Water covers 70% of the Earth’s surface and makes up approximately 60% of our bodies. This amazing natural resource is essential for life in both animals and plants.
Besides having many amazing properties, water is the only substance that appears on Earth naturally in all three physical states of matter — gas (water vapor), liquid (water), and solid (snow, ice). Most other substances only exist in one state in nature.
As water goes through the different stages of the water cycle, it changes from one form to anther by absorbing or releasing heat energy in the process.

Water Cycle Experiment 1
Simple Water Cycle In A Bag Experiment
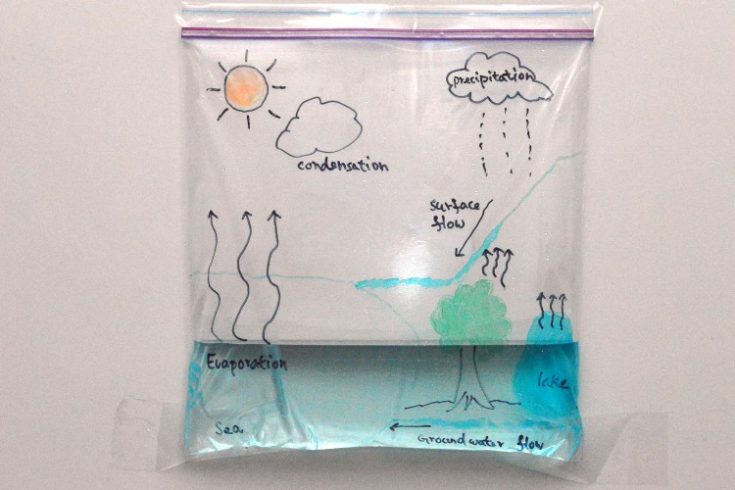
In this simple “water cycle in a bag” experiment, we will observe the different stages of the water cycle process up close.
Materials
- a ziplock plastic bag (I used 2 Gallon bag)
- color markers (e.g. Sharpie Permanent Markers or any non-erasable markers)
- water
- blue food coloring (optional)
- packing tape
Tools
- adult supervision
Instructions
- Draw the watercycle diagram.

- Warm up the water until steam starts to rise but do not let it boil.
- Add blue food coloring into the water to represent ocean water.
- Pour the water into a ziplock bag and zip it up.
- Hang the bag upright on the window (or the door like I did) using packing tape.
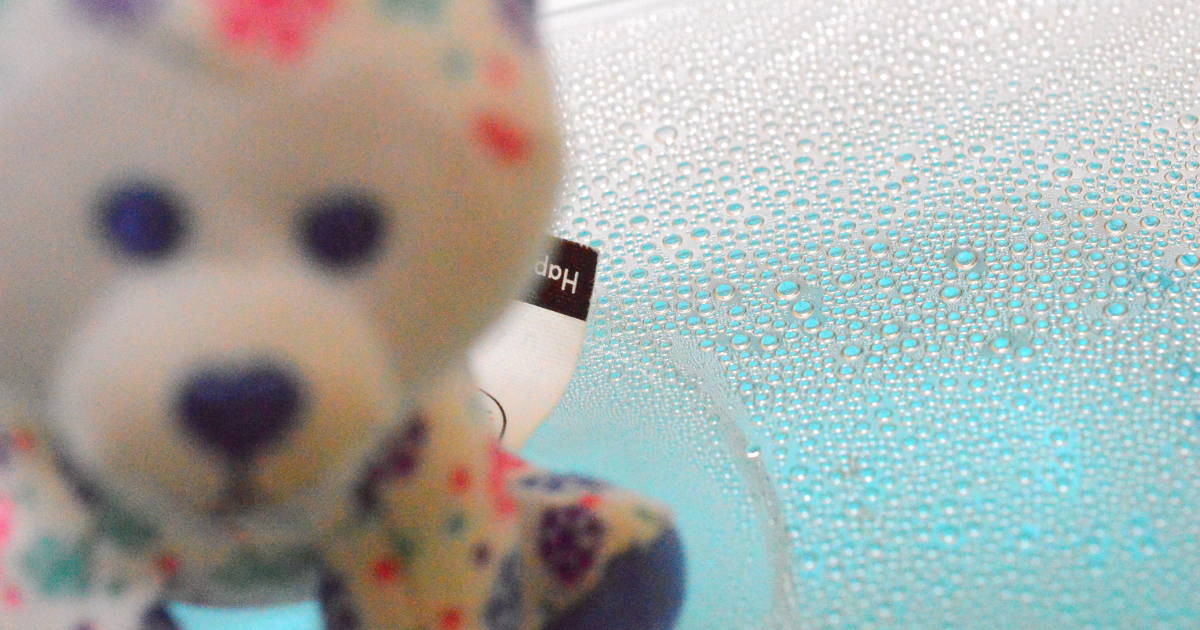
- As the water evaporates, vapors rise and condense at the top of the bag. A white patch can be seen resembling clouds in the upper atmosphere.
- After a while, water droplets appear on the inside of the bag. As they become bigger, they will eventually slide downward. The sliding down resembles the flow stage that brings water back into the sea.
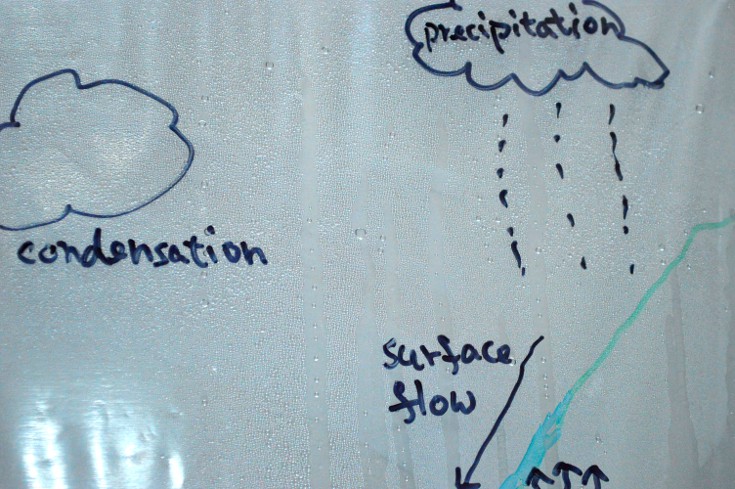
- If the water is still warm or if the bag is left on the window facing sunlight, it will keep cycling through the four different stages of the water cycle.
Notes
Explore more about the water cycle by answering these questions.
- Can you describe the relationship between the water cycle and living things?
- How does snow fit into the water cycle process?
- What causes soil erosion?
- Have you seen the four stages of the water cycle appear in our daily lives?
Recommended Products
As an Amazon Associate, I earn from qualifying purchases.

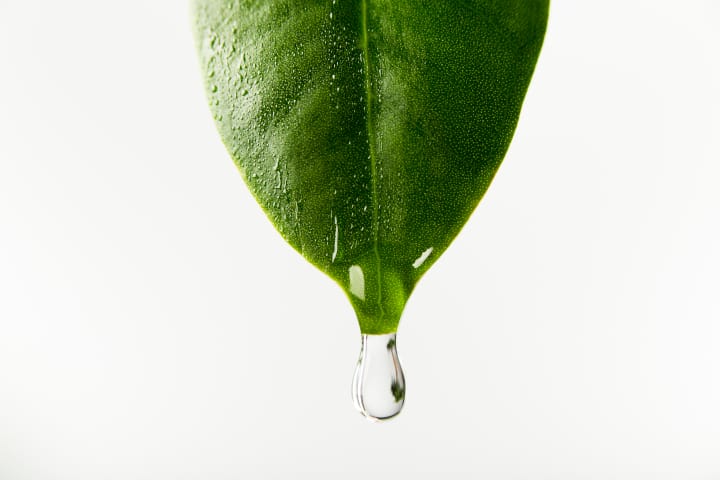
Evaporation
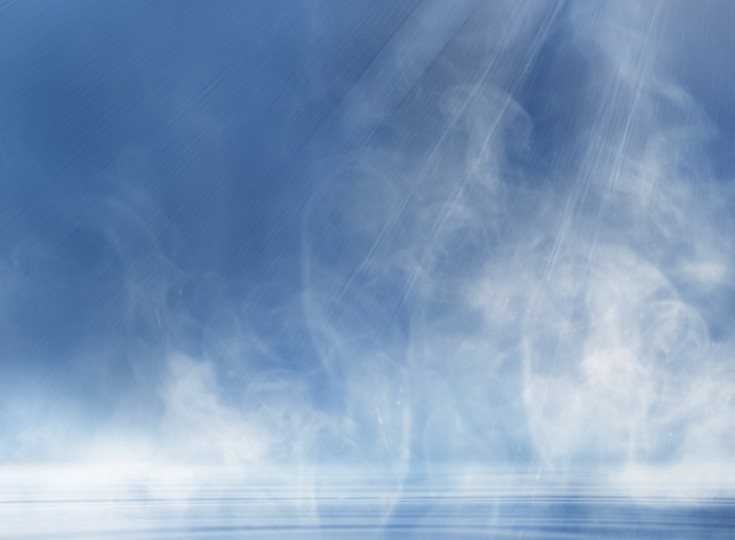
Evaporation takes place wherever there is exposed water, e.g. on the surface of the ocean, rivers or lakes, when we sweat, when animals sweat and when plants transpire.
When the sun heats up exposed water, the water on the surface turns into vapor and goes into the air.
Evaporation can happen at any temperature, but warm water evaporates faster than cold water. If you boil the water, you can see steam rising from the surface. That is a fast, visible evaporation.
Water Cycle Experiment 2

Evaporation-Distillation Water Science
In this water cycle project, let's make our own distilled water using evaporation, one of the important properties of water.
Materials
- warm water
- plastic food wrap
- a small, slightly weighty object (you can use things like a stuffed toy)
- food coloring (optional)
Tools
- a large bowl
- a small cup (make sure it's shorter than the large bowl)
- adult supervision
Instructions
- Pour warm water into the large bowl.
- Add food coloring if you want to see how the distilled water turns out different.
- Put the empty small cup in the middle of the colored water.
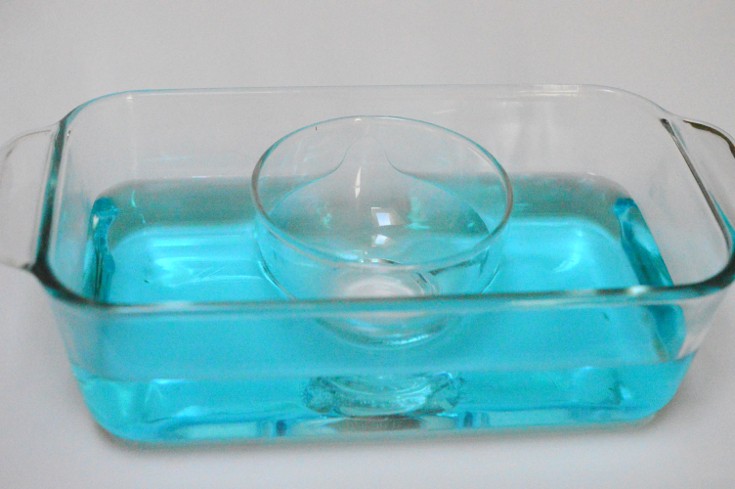
- Wrap the mouth of the bowl with cling wrap.
- Place the small object on the wrap so that it is slightly depressed right above the small cup. But make sure the cling wrap doesn't touch the rim of the small cup.
- Set the bowl under the sun and wait.
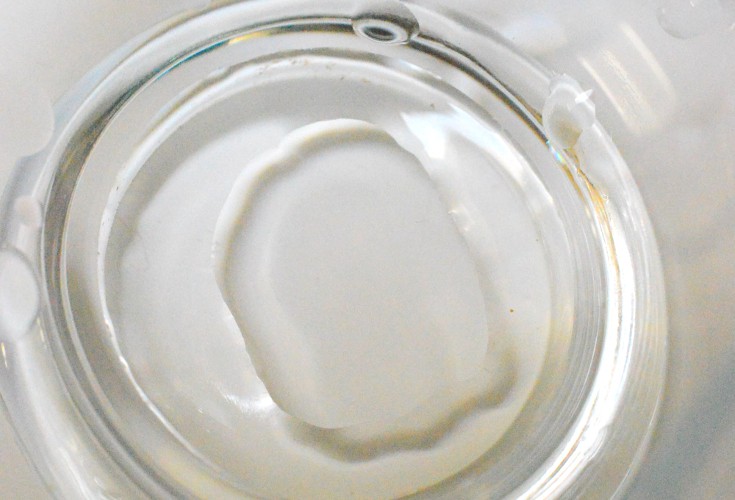
- After a while, you should start seeing drops of condensed water vapor appear under the plastic wrap.
- Note the color of the condensed water in the small cup.
Condensation
Condensation leads to cloud formation.
When invisible water vapors in the air rise and reach the upper atmosphere, the cold temperature causes them to release heat and change back into liquid form. These fine water droplets hang on dust particles in the air in the form of clouds.
Precipitation

As water droplets collide and condense together in the upper atmosphere, they grow larger and heavier.
When the water droplets’ fall speed exceeds the cloud updraft speed, they fall out of the cloud as precipitation in the form of rain, freezing rain, sleet, snow or hail.
Water Cycle Experiment 3

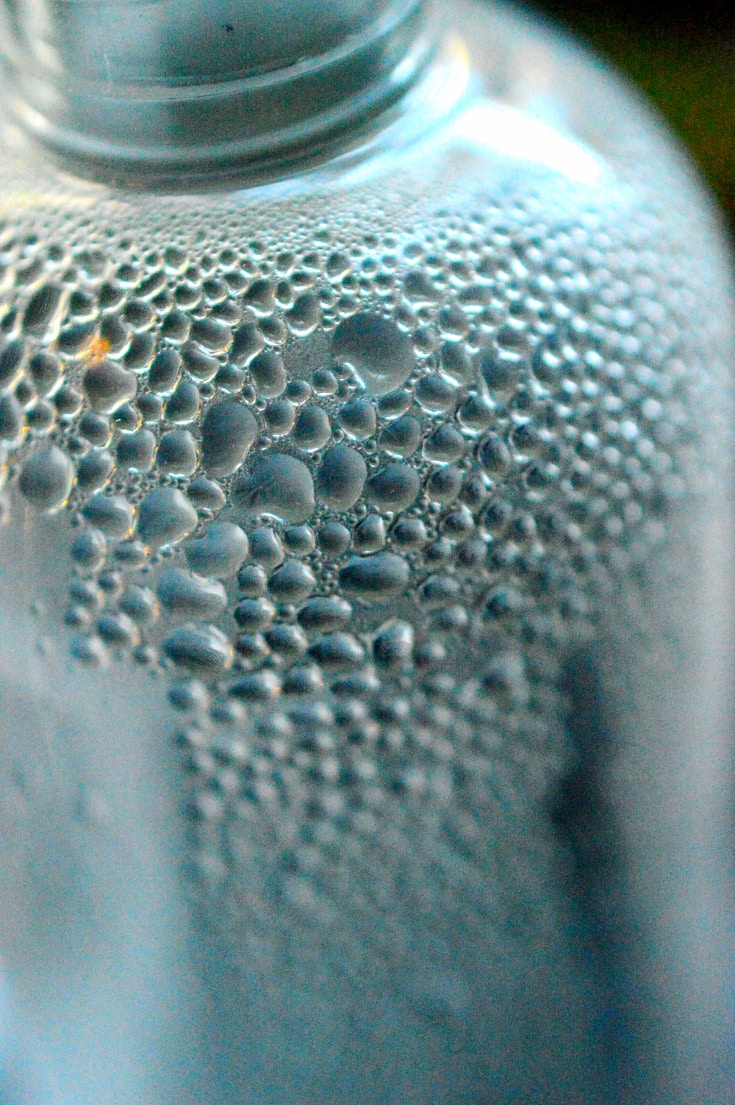
Make Your Own Rain - Water Cycle In A Bottle Science Experiment
Let's make rain!
Materials
- a clear bottle
- water
- patience
Tools
- adult supervision
Instructions
- Fill the bottle with water to about 1 inch high.
- Place the bottle by a window that can receive direct sunlight.
- Wait (while you do something else).
- After several hours, drops of water can be seen on the upper part of the bottle.
Flow
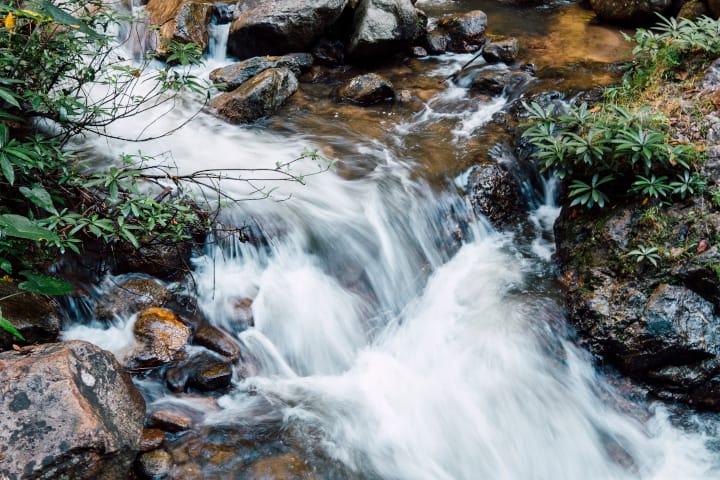
Through precipitation, water falls back onto the Earth’s surface.
The flow of water ends up in the rivers, lakes or seas as ocean water. Some soaks into the ground and becomes ground water, which feeds the plants or runs through the soil ending up in the ocean. Some is consumed by animals.
From there, the water cycle starts all over again.
Water Experiment Kits
Water properties have many significant impacts on the environment we live in. Learn more about the different properties of water in these science experiments using water.
Last update on 2024-04-23 / Affiliate links / Images from Amazon Product Advertising API