Bread Dough Rising Experiment
Science is all around us.
Oftentimes, we apply the principles of physics, chemistry or biology without even knowing.
We can all be scientists and we are by observing and studying carefully what happens around us.
Baking is a good example.
Kids love baking and playing with the dough.
Making bread with kids is full of teaching moments.
Try this science of break making experiment.
The Science of Bread Baking
Prep Time:
30 minutes
Active Time:
2 hours 30 minutes
Additional Time:
40 minutes
Total Time:
3 hours 40 minutes
Let's do this edible experiment together and see what kids can learn at each step.
Materials
- 1/3 package active dry yeast
- 3/4 cup warm water
- 1 tablespoon sugar
- 2 1/4 cup all purpose flour
- 1/3 tablespoon salt
- 2/3 tablespoon cooking oil (e.g. canola oil) or butter
Tools
- adult supervision
Instructions
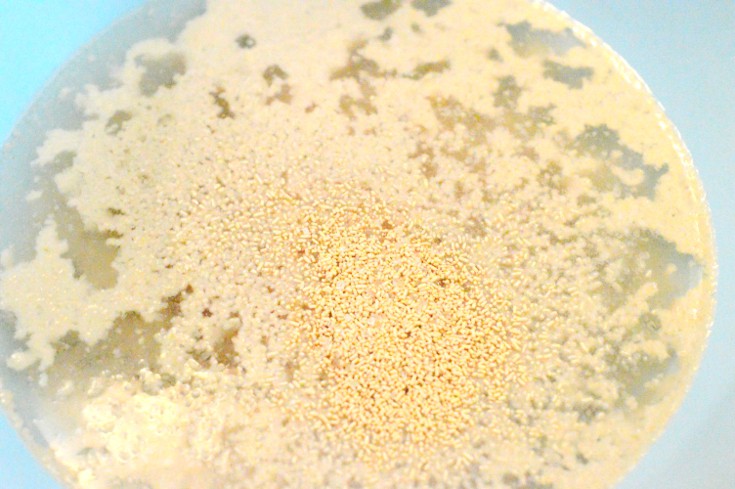
- In a large bowl, dissolve yeast and sugar in warm water.
- Learn how to measure.
- Why do we use yeast in bread making? Well, yeast is a live, single-celled fungus. Active dry yeast is lies dormant (despite the name) until it comes into contact with warm water.

- Stir gently and put aside for 15 mins or until you will see a layer of foam form on the surface.
- Once reactivated in warm water, yeast begins feeding on the sugars and releasing carbon dioxide. The carbon dioxide forms a layer of small bubbles on the water surface. This is called anaerobic fermentation.
- Observe the bubbles.

- Add salt, oil 2 cups of flour.
- Beat until smooth.
- Then stir in enough remaining flour, a little bit at a time, to form a soft dough.
- Turn onto a floured surface. Knead until smooth and elastic, about 8-10 minutes.
- Kneading mangles and knots together proteins inside the flour to form strands of gluten.

- Place in a greased bowl, turning once to grease the top.
- Cover with a wet towel and let it rise in a warm place until doubled, about 30 minutes to 1 hour.
- Remember yeast is only active in warm water? Yeast needs a warm and moist environment to ferment.
- During fermentation, the released carbon dioxide is trapped by the strands of gluten in the rising bread. This is what causes the bread dough to rise, or expand on the surface, leaving behind air pockets throughout the dough.

- Punch dough down. Turn onto a lightly floured surface; divide dough into smaller doughs.
- Notice when you punch down the dough, its size shrinks. That's because the strands of gluten are still soft and cannot hold in shape to preserve the space inside when they're under pressure.
- Punching down removes some of the gas bubbles formed during rising and produces a finer grain. It also redistributes the yeast cells, sugar and moisture so they can ferment and rise the dough during the proofing stage.
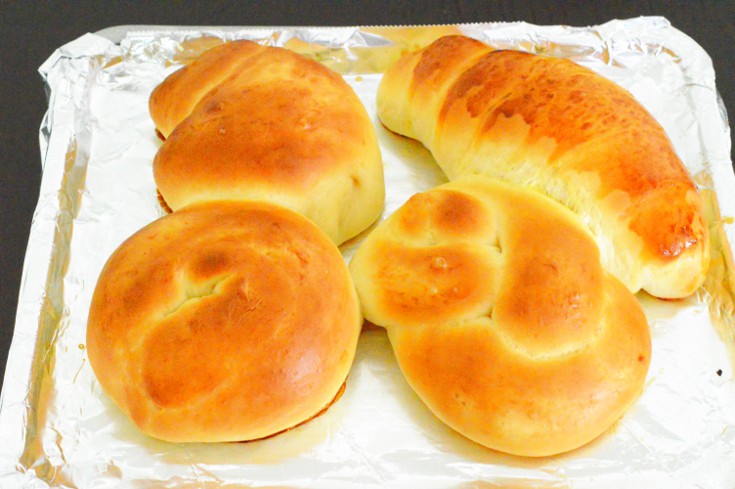
- Shape each into a loaf, a croissant, a butterfly, an animal, etc. Use your imagination. Use a rolling pin if needed - an opportunity to exercise the creative minds.

- Place the shaped loaves on a greased pan. Cover with a wet towel and let it rise again (proofing), for about 30-45 minutes.

- Bake at 375° for 30-35 minutes or until golden brown. Check occasionally to prevent burning.
- Move the loaves from the pan to wire racks to cool.
- Study the size of the bread loaves.
Notes

Results
Not only was it fun, but the experiment was also tasty. My daughter refused to share her two big pieces of bread, which was a very good indication that the baking was a success.